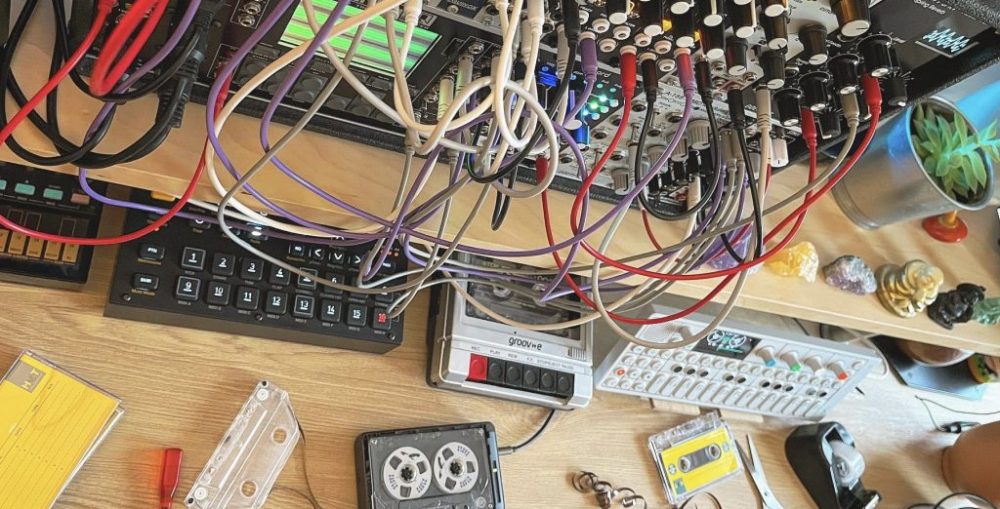
After having finished our midi routing and sequencing, the next step in order to store this track was to record every part separately as at the moment each instrument was playing on different channels and the DAW is not able to bounce a combined audio file this way. It is worth to mention that the recording will also include some automation that will be performed live in some values like cut-off or resonance, and specially on the FX unit Microcosm, where there will be a lot of live manipulation in a creative way.
The way I’ve been recording to the computer is through the audio interface “Komplete Audio 6”, a 6 input sound card from Native Instruments that I’ve been using for years in order to manage audio settings through the computer. The input is normally connected to the headphones output of the Digitakt, which is the center of all the gear and where the majority of audio from the hardware goes through, that allows me to make recordings anytime without the need of unpluging anything beforehand. By the time I want to record something, I normally create an audio track beside the instrument track on Ableton, and I route the input channel through it, with the use of the mute and solo settings I will play just the desired track.

Once we’re ready to record, is very important to set the volume gain to an approximate amplitude of -10db, there are different theories about what should be the volume level on the input channel, but one thing is sure, that it should never clip or going to red level, or it shouldn’t be too low, because that will increase the noise level when this part will be amplified; so then the volume input should be moderated, or stay on the beginning of the yellow signal.
When I started the recordings I found that on my mix, the signal was usually too low for recording, so I had to increase volumes wherever I could to get a good signal into the DAW. Another aspect to take into account when recording is to make sure that every other channel is switched off before, as there are normally open channels around whose could be contributing with noise pollution without any use within the recording.

Then I was ready to start recording each instrument separately; for the bass line there was no automations or changes to be done so I recorded a loop with the 16 bar sequence, that would decrease the file size of the project, and also the percussion was recorded in loops. For the synth arpeggio I needed longer takes as it was modulated with different frequencies and effects, specially the granular reverb from Microcosm which is giving those spacey textures to our main synth at the middle of the song, I did this by hand so it took me a couple of takes to achieve the desired effects. Finally the strings were recorded, these were copied/pasted on different places as its structure was the same on some positions.


This was how the whole mix was looking at the end of the recordings:

